
There are various methods to assign drivers to orders, such as:
- Auto-assigning drivers: Our plugin automatically assigns an available driver to an order when its status changes to “Processing.”
- Drivers claiming orders: Drivers can claim orders manually by selecting them from the available orders list on the driver panel.
- Admin assigning a single order: An administrator can manually assign a driver to a single order.
- Admin bulk assigning delivery drivers: An administrator can assign multiple delivery drivers to orders in bulk.
Auto-assign delivery drivers
This occurs when the order status changes to “Processing,” and the plugin automatically assigns an available driver to the order.
You can auto-assign drivers in several ways:
- Auto-assign by the number of orders each driver has.
- Auto-assign by shipping zip code, city, state, country, and the number of orders each driver has.
- Auto-assign by shipping city.
- Auto-assign by pickup zip code, city, state, country, and the number of orders each driver has.
- Auto-assign by pickup city.
- Auto-assign by shipping city or pickup city.
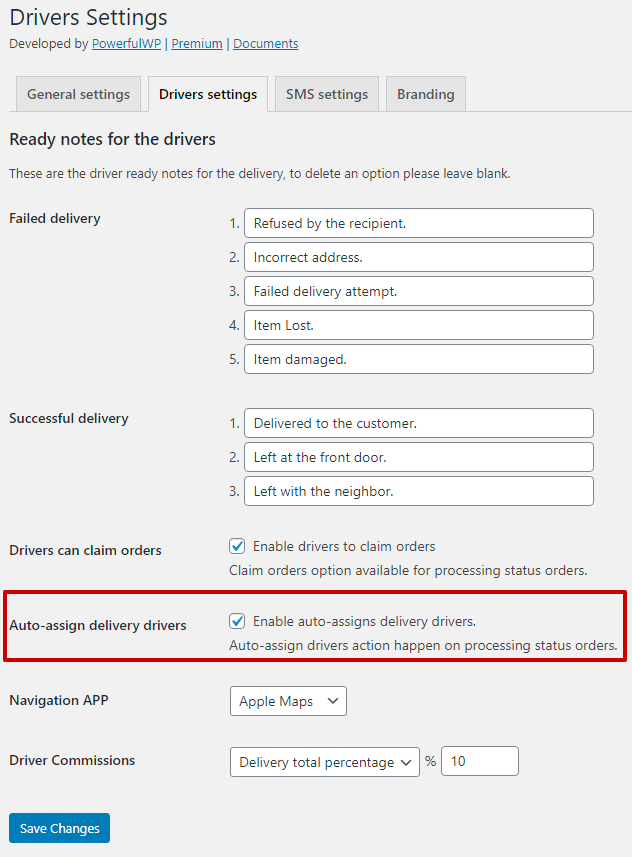
To enable this feature, navigate to the driver settings and select the “auto-assign” checkbox.
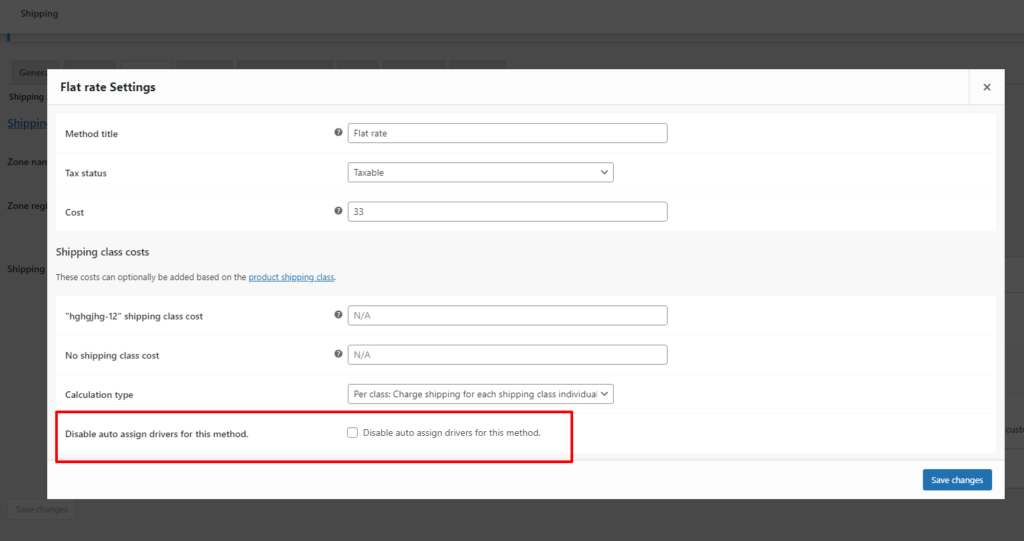
Drivers are not assigned on pickup orders.
Drivers can claim orders.
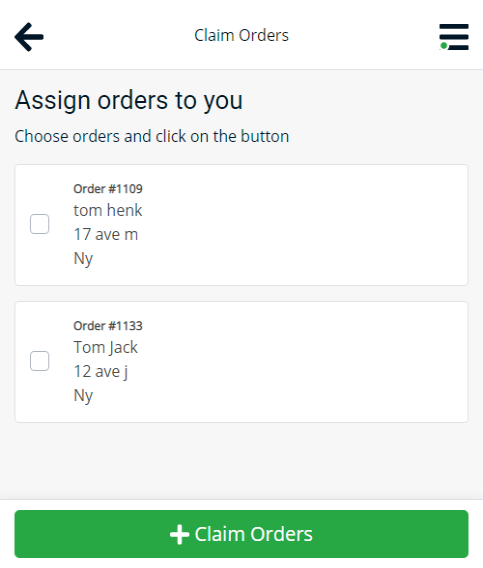
The delivery drivers who have a claim order’s permission can claim orders from the drivers’ panel.
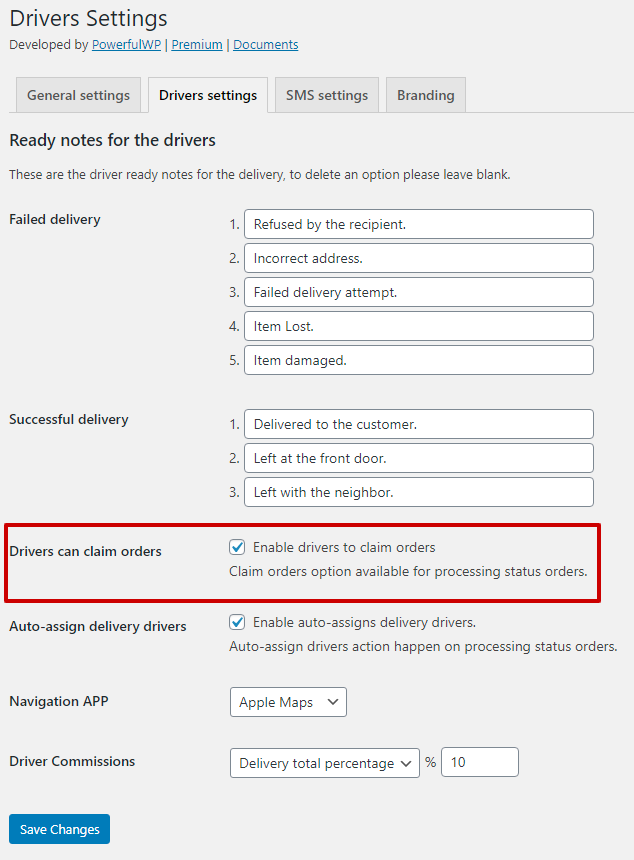
In order to allow claims orders, go to the driver’s settings page and mark the claim orders checkbox.
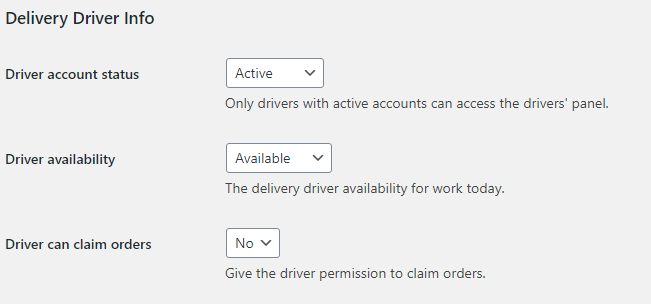
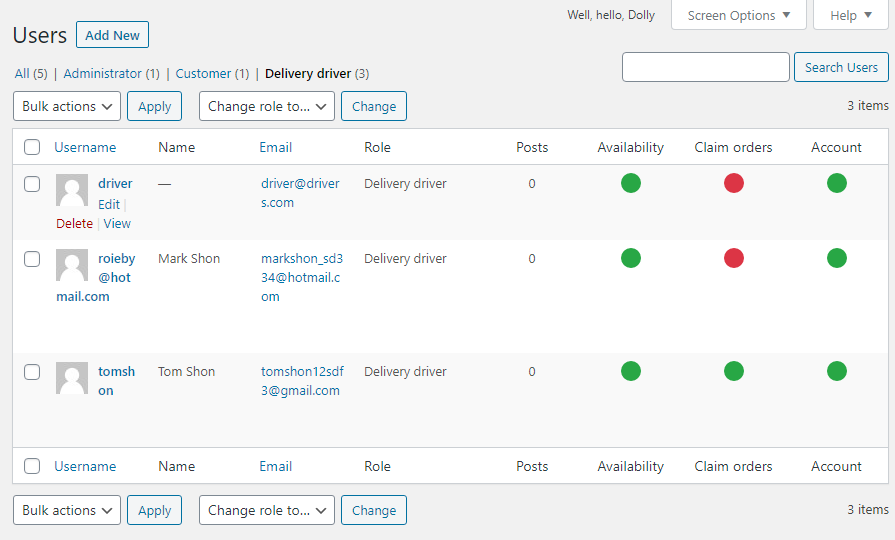
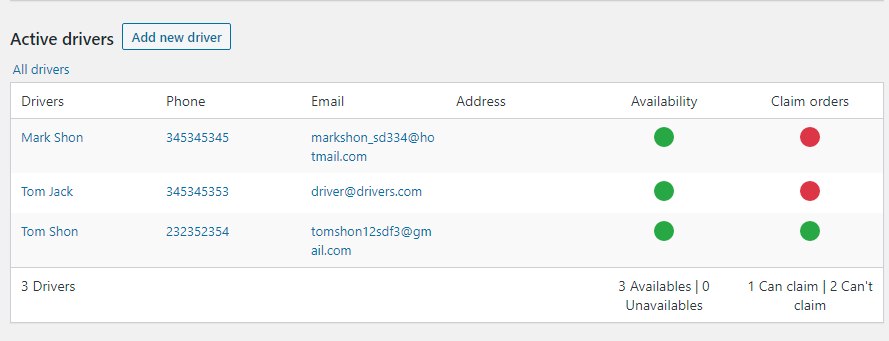
Admin can give drivers permission to claim orders, this can be done from the plugin dashboard or from the user’s page or from the user page.
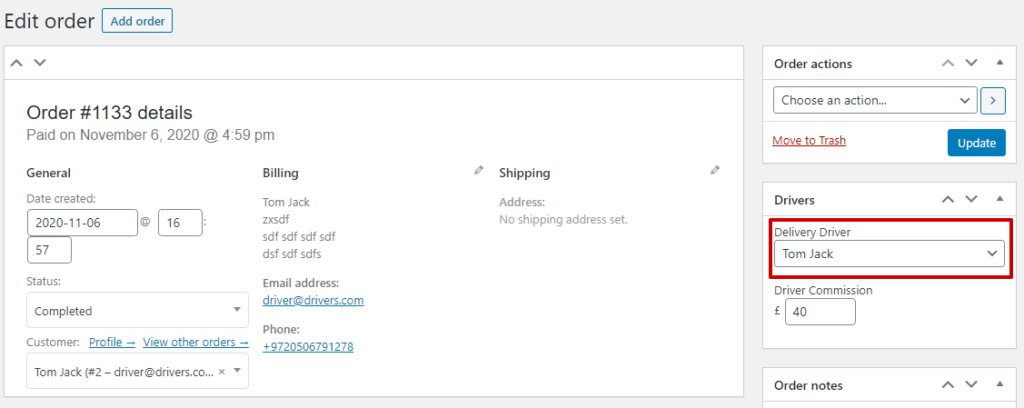
Assign driver from the order page.
Bulk assign delivery drivers to orders
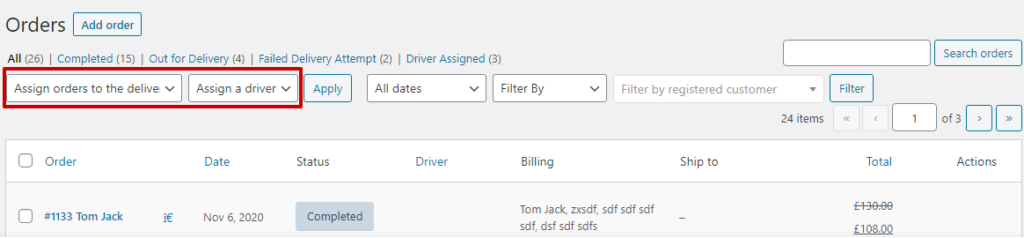
Admin can bulk assign delivery drivers to orders from the orders page, in order to do that, follow the following instruction:
- Select assign orders to the delivery driver’s option from Bulk action selection.
- Select the driver from the assign a driver selection.
- Mark the orders checkboxes.
- Click the apply button.
What happens when a driver is assigned to order?
When a driver has been assigned to order the following events are happening:
- The driver gets an SMS notification.
- The driver gets an email with the assigned order details.
- A note is added to the order with the user name that created the event and with the driver’s name who has been assigned to the order.
- Order status changed to Driver Assigned.
* When drivers claim orders SMS won’t be sent to them.
[/et_pb_text][/et_pb_column] [/et_pb_row] [/et_pb_section]