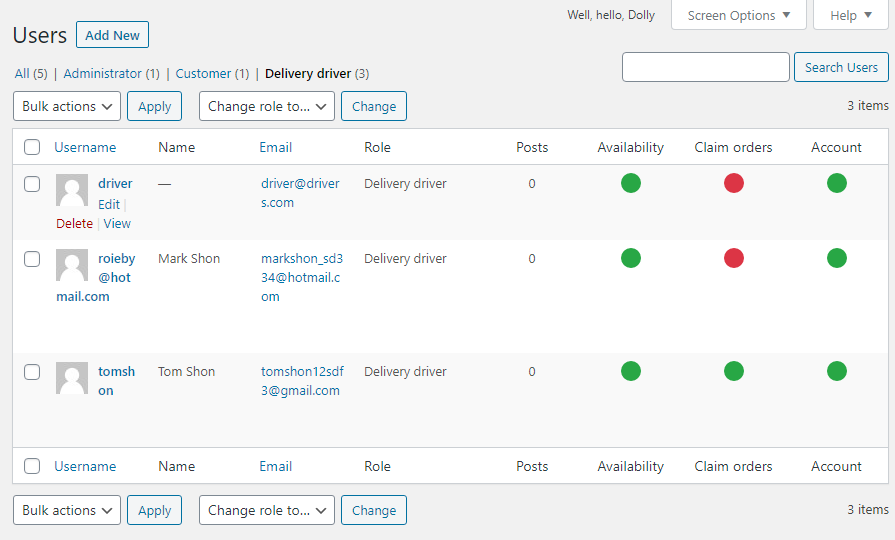
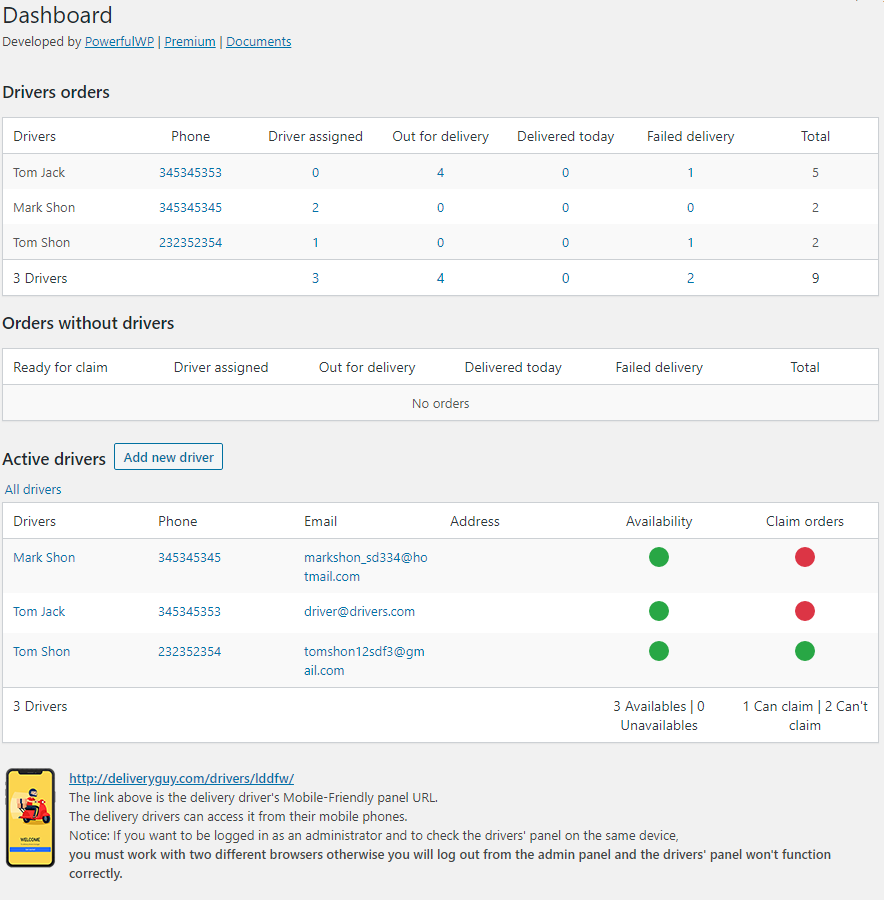
Go to “users” in your WordPress admin and click on Add New User, Or you can go to the plugin dashboard and click on the Add New Driver button.
On the Add New User page follow the instruction below:
- Set first name, last name, email, password.
- Choose the Delivery Driver Role.
- Click on the Add New User button.
Make sure that the email is not used already for another user.
On the next page set Driver Phone Number and Country and click on the Update User button.
On the edit user page, you have a settings section for the drivers called Delivery Driver Info.
Delivery driver info
The driver’s settings as the following:
Driver account status
Set the status of the driver account ( active / not active ), Only drivers with active accounts can access the drivers’ panel.
Driver availability
Set the availability of the driver for work today. ( available/ not available)
The driver can claim orders.
Give the driver permission to claim orders.